Showing posts with label Adeptus Titanicus. Show all posts

Wednesday, August 3, 2022

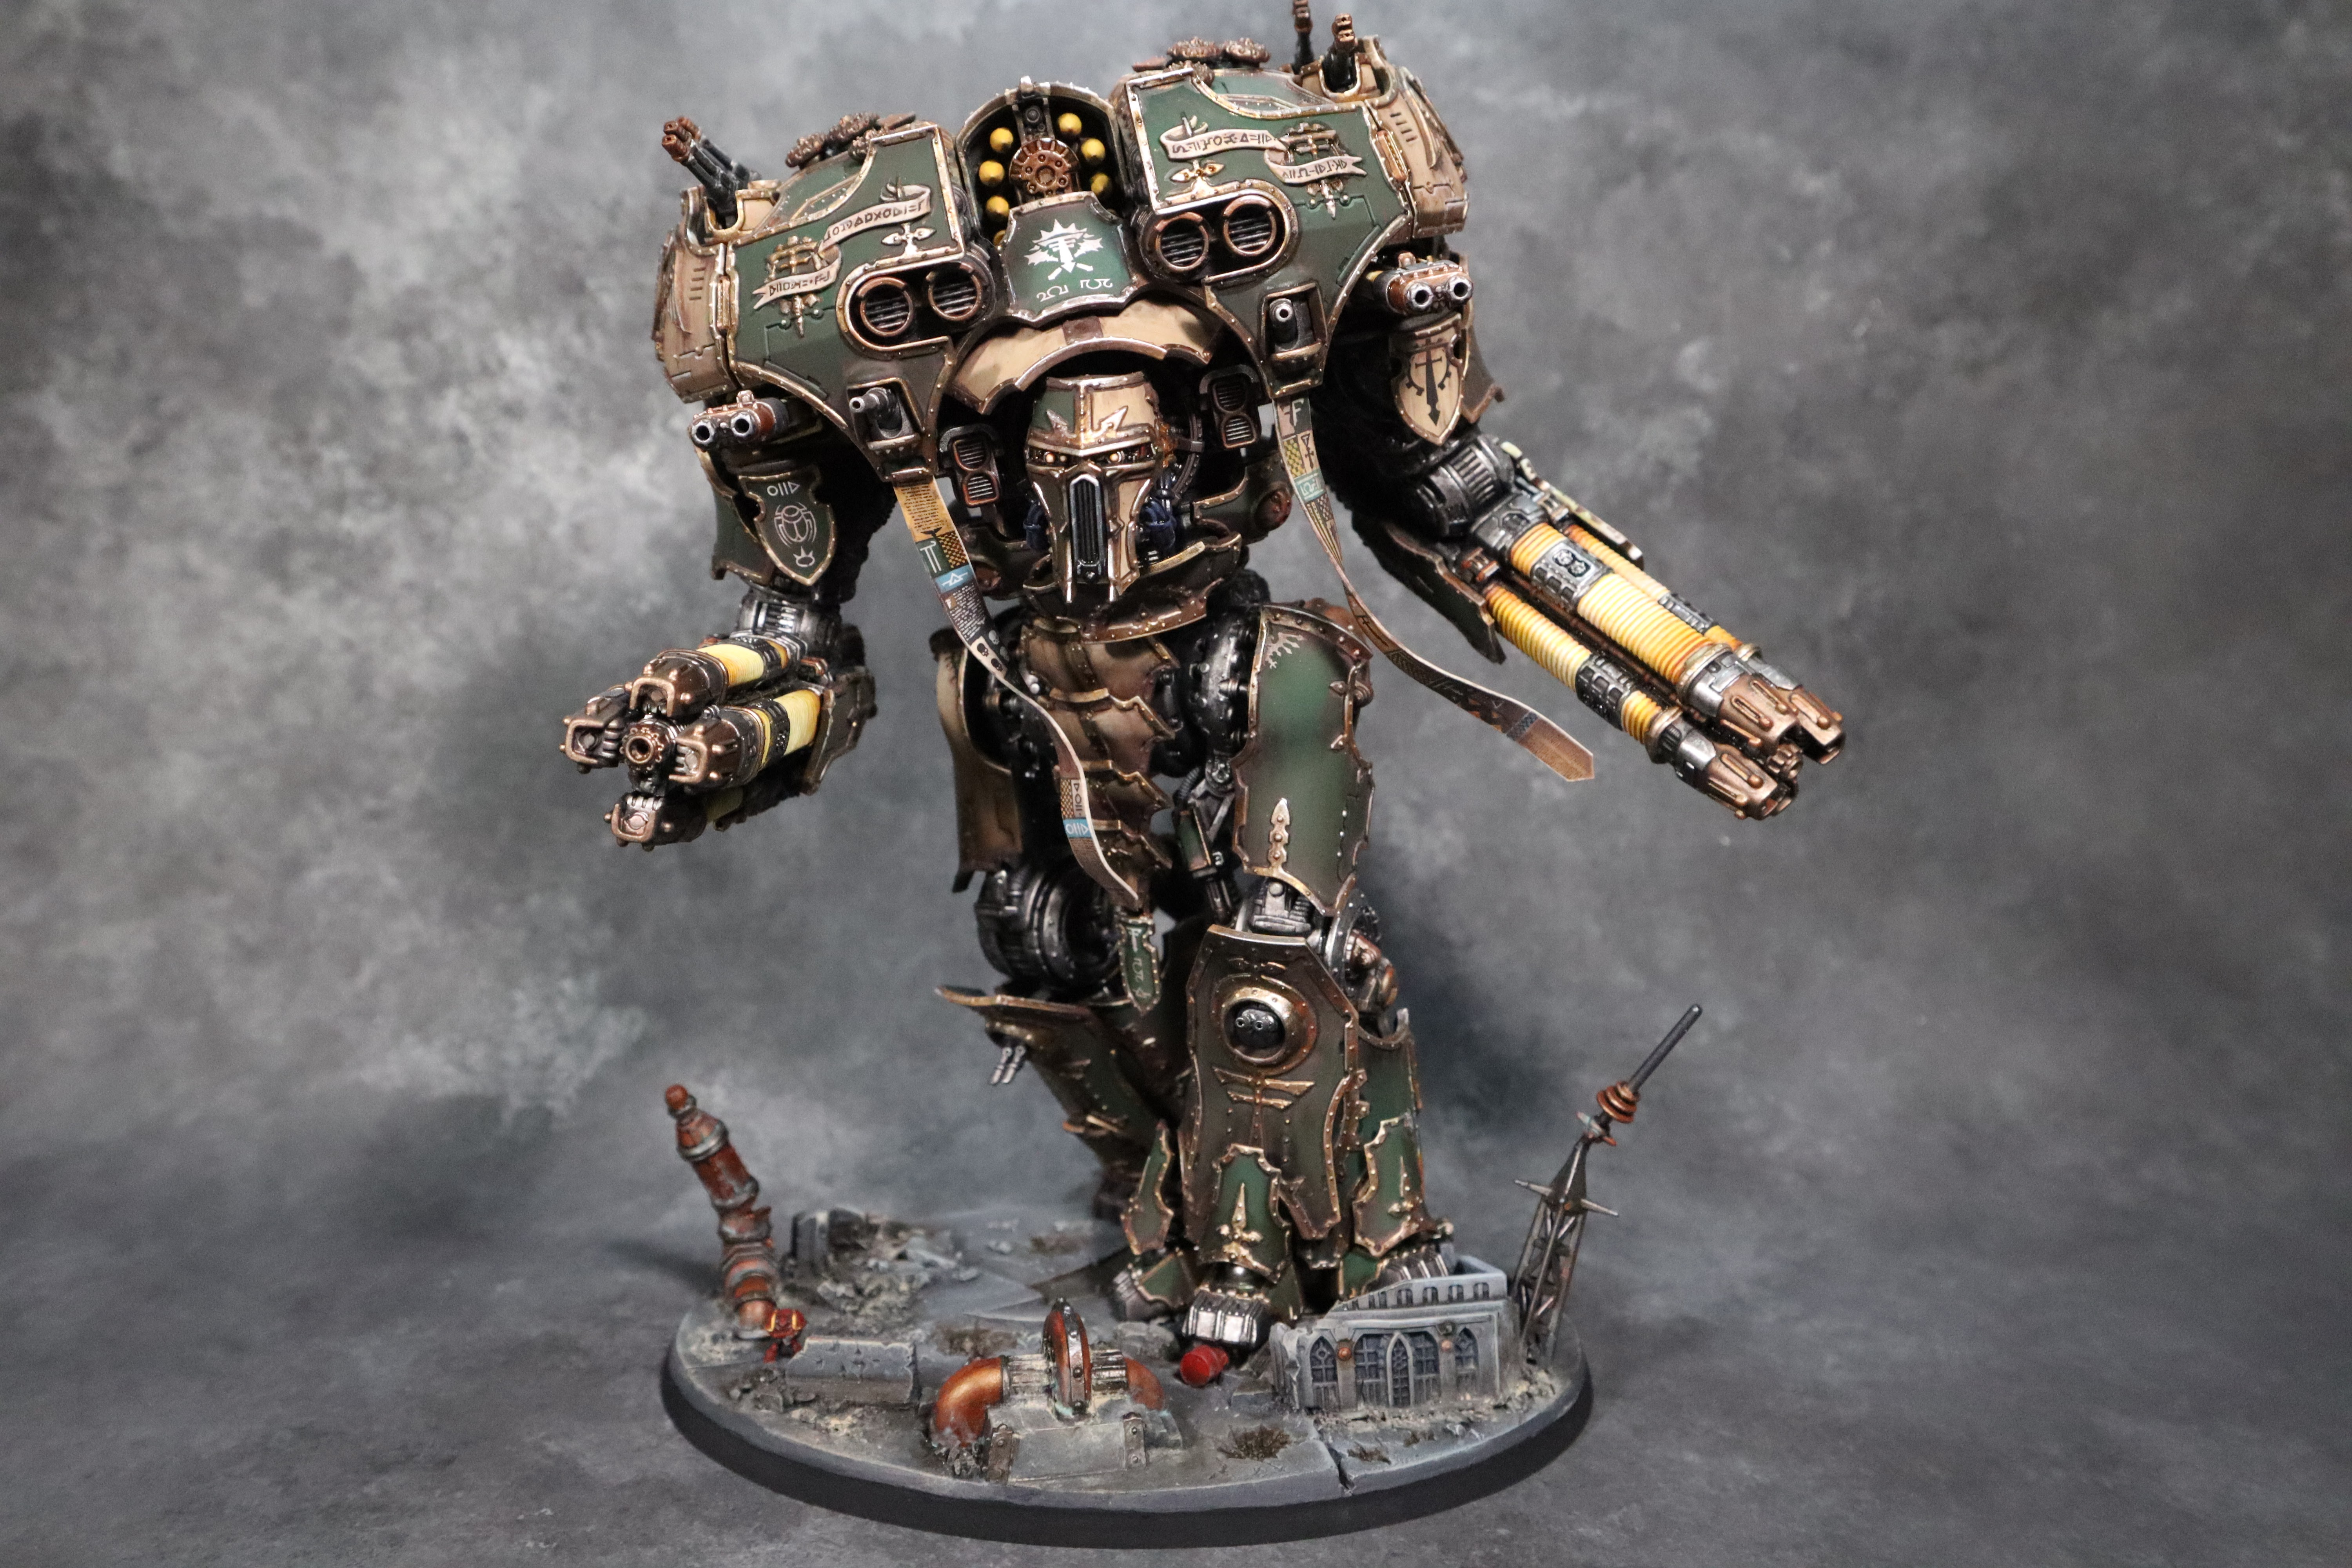
Warmaster Titan Done!

He's done!

Tabletop+ quality, and I have some banners yet unpainted, but done. I still see blacklines not blacklined, metals that spilled onto what's not supposed to be metallic, but done. I set a deadline for today to finish him and that's it, it's past midnight, and so he's done.

He looks great from afar, but man, I have mixed feelings over it. I need to do some soul searching and discover a way to be ok with leaving mistakes around and unfinished, even when realistically, only I know where they are, and those of you who spend more than a few seconds looking at closeups.

Anyway here are the pics. Thanks for looking!


Thursday, May 12, 2022

Tiny Planes Done!

Hey all,

Not much to say here. I wanted to paint up a few planes as Titanicus terrain. I think that, if I were to start a SM army in the Heresy, it'd be Iron Warriors and so I decided to give that paint scheme a go.


I used the Forgeworld Iron Circle as a reference, loosly. Here's the recipe.
  1. Paint up metals overall: Scale75 Thrash Metal blended down into Citadel Black Templars Contrast and highlighted with Scale75 Heavy Metal.
  2. Paint chevrons. Paint the surface in a red-pink-white gradient (I used Citadel Mephiston Red mixed with white but it really doesn't matter), then glaze yellow over it (I used Citadel Yriel Yellow), blend and stipple in some Fuegan Orange and Gore Grunta Fur Contrast. It should look rough a bit, don't obsess over making it perfect. Then paint on some black lines, neaten it up, and then add yellow/white or yellow or orange wherever the balance seems a bit off.
  3. Paint on coppers. I used random paints here, but Scale75 Decayed Metal and Wyldwood Contrast went into the shadows and I used Moonstone Alchemy and Old Copper and others for mids and highs.
  4. Paint on blacks. I just painted the surface black and edge highlighted some of the detail in warm grey colors - Gris Pardo Brown Gray.
  5. Grime everything up in [Streaking Grime for Panzer Grey](https://ak-interactive.com/product/streaking-grime-for-panzer-grey/). It's a dark red grime that creates a bit of a rusty feel. I also put in some oil paint here and there, and used the regular greenish Streaking Grime grime in places, but that just adds variety and really isn't necessary.
  6. Touch up whatever needs touching up.
  7. For the windows I blended Scale75 Abyssal Blue into Artic Blue.
Thanks for looking.


Saturday, May 29, 2021

Vulpa Daemonica Warlord Titan Done!

Finally, the centerpiece of my Vulpa legio is done!


I'm really proud of this one. It's by far the best mini I ever painted, owning mostly to just too many hours spent. I literally worked on him until I burned out, took a ~6 month break while working on other models, and then went back to refine and improve for about one month more. It's not without fault, it's not getting me a Golden Daemon or anything, but I've given it everything I got and it was worth it.

I learned a lot with this project. I switched to using Contrast paints for glazes halfway through the project. I started using FW Sepia as my main shadow color, eventually changing to Wildwood Contrast there the shadow is warm and a mix of black and Space Wolves Gray where it's cold. Contrast thins into a barely noticeable glaze better, is easier to control, and don't dry glossy.

I enjoyed doing chipping on this one a lot. Previously, I weathered mostly by applying enamel dust and grime and removing it with white spirits. On this model it was more or less just chipping. Grime and dust make a model feel old and deserted, which is not appropriate for the energy of this model. Also, the layers of grime toned down surfaces that I worked hard to differentiate between glossy and matte. Instead, I chipped with matte dark lines and silver/gold highlights: because the chips are effectivelly matte, they stand out so well and look so realistic. It looks great on the orange parts, it's only meh on the purple; it's too dark to work well with this approach.

I also took these pics very differently than usual. I spent a lot more time controlling lights, used a black backdrop and edited every single pic to control the background, which was never truly black, as much as possible. Gimp was used, what can I say. I also used a little portable light on the fireball, pointing from below - counteracting the natural shadow that exists in other parts of the scene, making it look like it's glowing even more. It turned out really well.

Thanks for looking!


Friday, August 21, 2020

Vulpa Daemonica Warlord Titan

 Here's a conversion I've been working on, on and off, for months now... Getting bits, trying things out, changing my mind etc.

This is not final still - I want to try different carapace options before I commit to this one. I like what this does for the silhouette of the model - the carapace weapons aren't jutting out and drawing attention away from the melee and the agressiveness. But the weapons themselves - long range missiles - don't work thematically. Just aesthetically. I'll try vulcan megabolters and the gatling blasters too; those are more thematically appropriate, I just wonder about the aesthetic of it. We'll see.

Additional horns and muscles etc seem appropriate too thematically, but whenever I tried, it didn't work very well. It looked too damaged; this is a proud machine we have here. Bloodthirsters don't need battle damage or extra mutations to look daemonic, that sort of thing. I think it'll work.

So what we have here is:

  • A normal Warlord titan with an additional power claw sprue.
  • The head is made by taking that long helmet design that comes on the power claw sprue - not the Spartan looking one, but the other one - and simply not putting the front side of it on. Instead, I used a Bloodthirster's face, added some Bloodthirster horns (just behind the jaw looked right to me). The butcher's nails are just bass guitar wire.
  • The wrecking ball comes from a Skaven kit - the doom bell one. Don't throw away any of the chain bits from that kit - I cut them apart and rebuilt them so that the chain is wrapped around the warlord's fist.
  • The chainfist is two 3D printed Eviscerator blades, surrounded by a bunch of bits and gobbins to create the engine.
  •  The chains hanging around are model's right shoulder armor are just off the shelf miniature chains that I glued together in that pose with superglue - one chainlink at the time. It took forever and is still very fragile. Would not recommend.
  • The groin plate contains Bloodthirster bits.
  • There are additional bits around the model that are from various AoS Bloodbound kits. I don't know which ones since I got these by browsing ebay, it's really a treasure cove.
  • I used Reaver carapace weapons for the missile racks. The normal Warlord missile racks stick out vertically too much, they'd ruin the contour of the model. I don't want the only mandatory ranged weapon to be very noticeable.
  • The base is by Unreal Wargaming, with the Rhino and Land Raider by ZStu designs.

On to the pics and thanks for looking!