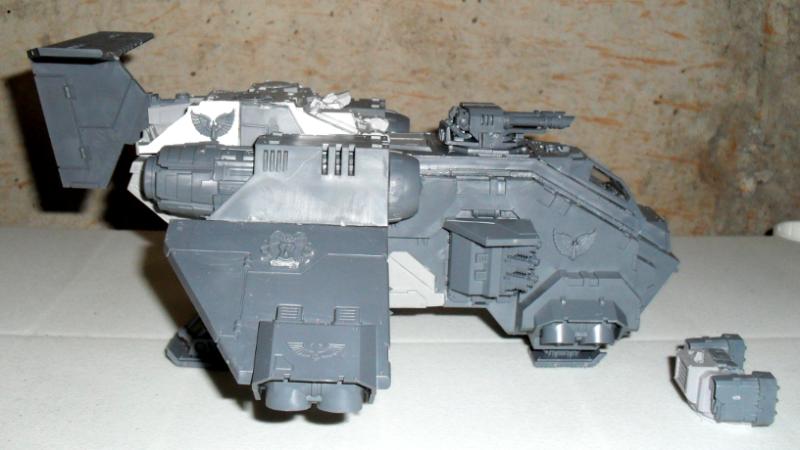
The Fire Raptor is done and ready to be painted. This was a lot of work!
First off, my Forgeworld kit was terrible. I can deal with mold lines, but I had some extremely bad mold slips in there too. The front piece that surrounds the Avenger gatling cannons, the top part of the chassis near the end of them model, and the angled stabilizer wings above the engines, were in terrible shape. After fixing them, if you line them up, you can see that they're not equal anymore, from all the material I had to cut off. But it's hard to tell with a naked eye and that's good.
I know that they say that Forgeworld offers excellent customer service, but it would take forever for replacement parts to come to me. I opted to just do the best with what I got instead. Sadly I don't have any pics of fixing them up.
The gatling gun panel was seriously misaligned, so I had to sand its edges down on both sides and practically rebuild its sides and integrate it into the model. There's the end result. It looks a bit rough but if reels smooth to the touch. I think it'll be fine after priming. Otherwise I can just go back to it, sand some more, and re-prime until fixed.
I didn't glue the cockpit mask to the model because of the acrylic glass that I don't want to risk getting any paint on. I'll probably glue that on after painting the rest of the model.
I didn't like the normal feet that the Fire Raptor kit comes with. They're long and spread apart. I wanted the model to keep a lean profile.
So I used the plastic feet that come with the Storm Raven kit instead of resin parts. I shortened them to make the model rest very low against the floor, and rear legs are pointing straight down instead of to the side, compared to the stock model. I'm happy with how this turned out.
Of course, both weapon turrets are magnetized. I drilled holes in the turret and used magnets as pins that align the weapon a bit better, besides 6 5x2mm magnets in each turret that keep the weapons firmly in place.
Note that one of the Heavy Bolter weapons has a lot of Milliput (the white stuff) in the third picture below. That weapon came to me hollow. There was a thin, translucent resin shell giving it shape. Whoever was pouring resin there didn't see a massive air bubble. I just filled it with Milliput.
Wing weapons are magnetized too. While the official rules give you the option of equipping your Fire Raptor with missiles or lascannons, the kit doesn't come with lascannons. Only the Storm Eagle kit gets lascannon bits. I don't know what's up with that. Anyway, I designed and 3D printed some lascannon bits to use.
Finally, the wings can be removed, as well as the little stabilizer thing on the top of the model. For easier transport.
This part I'm not too happy with. Instead of buying huge magnets that will have the strength to keep the wings tight to the model, I just used multiple stacks of normal modelling magnets (up to 6mm big). This worked out but it looks very messy and, while the wings don't move, I'd like to have a stronger hold in there. I've since ordered some very strong rectangular magnets - plates that are 20x10x2mm. I wish I had used those. Oh well.
That's it. Can't wait to get started with this thing, I've never painted anything nearly as big. This thing makes my Monolith look like a joke. We'll see how it goes.
Thanks for looking!
Epic stories about removing mold lines and destroying brushes with poor technique.
Showing posts with label Fire Raptor. Show all posts
Monday, October 2, 2017
Monday, September 11, 2017
Fixing Storm Raven exhaust Rotation!
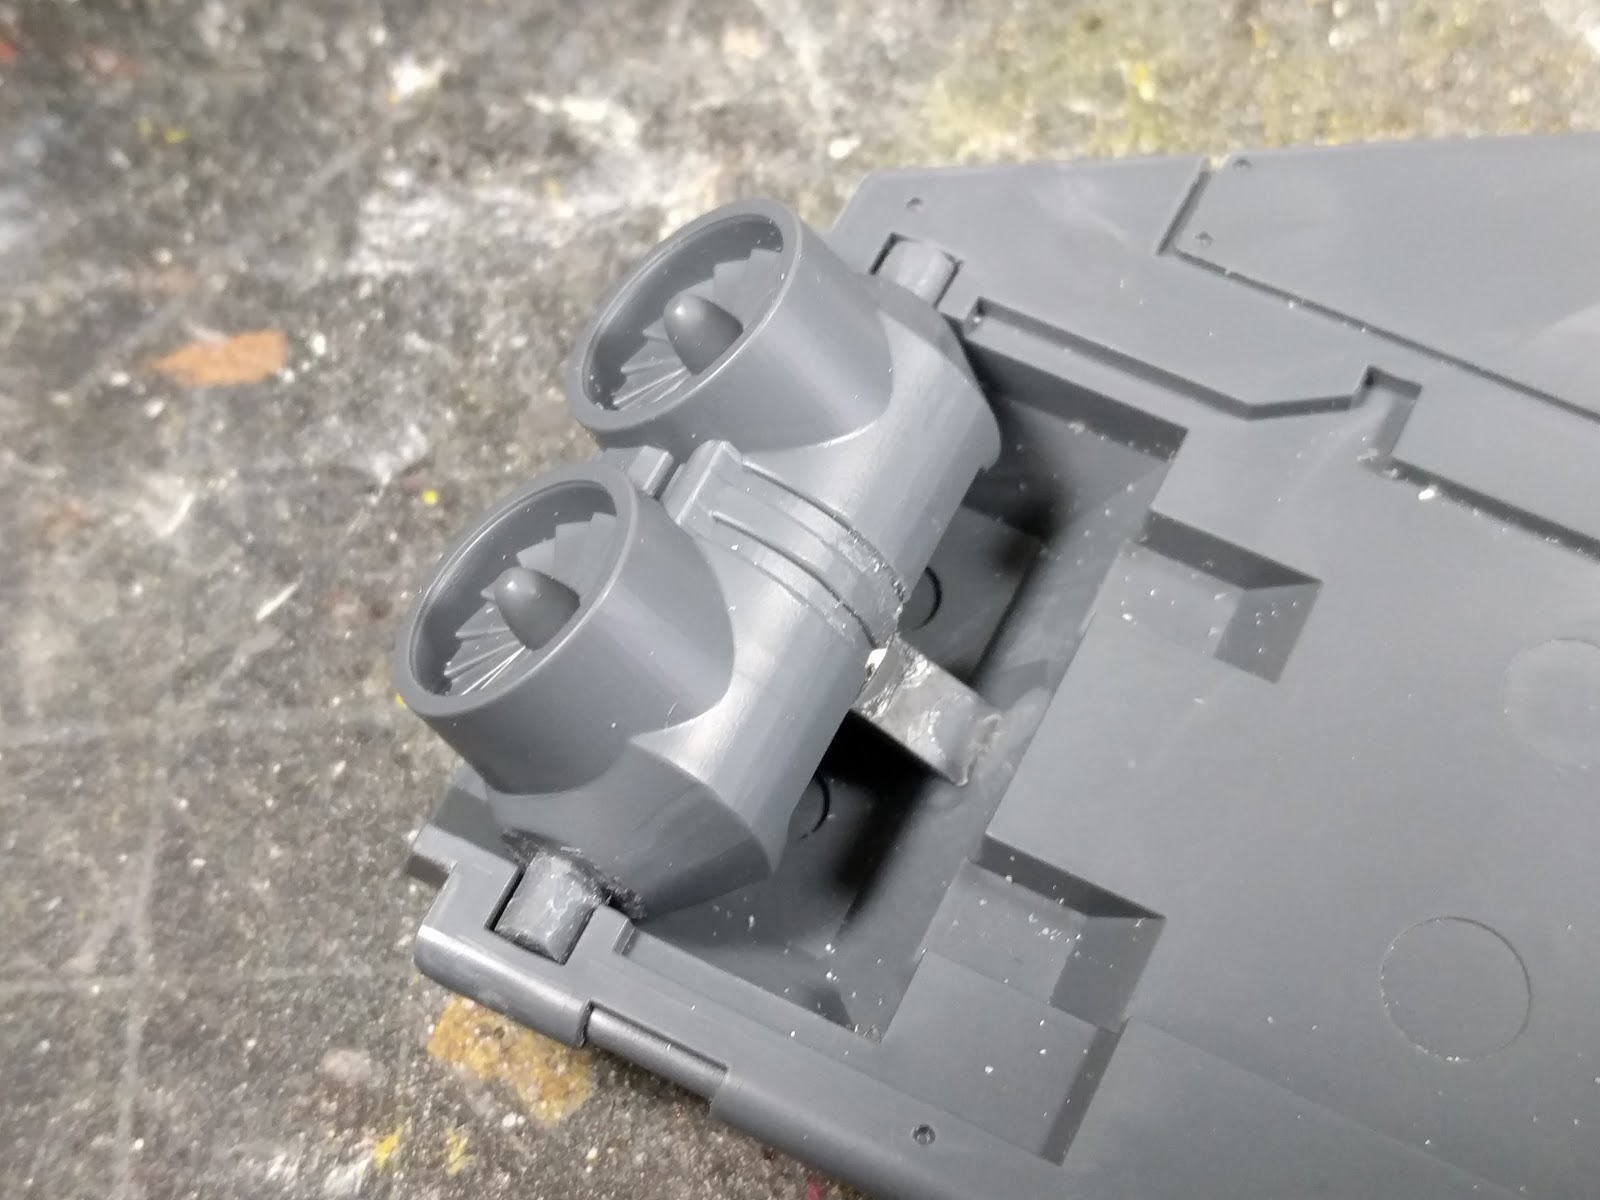
Hey, here's a weird one. So you know those little stabilizer jet exhausts that come with the Storm Raven kit? At the tip of the wings and just under the cockpit? Turns out they can swivel.
It's a bit difficult to see, but the two models below show it okay. The first Storm Raven has 4 jet exhausts pointing sideways (towards the camera), and the second's exhausts are pointing down:
Well I hate stuff like this! Assemble them too stiff and moving them becomes grindy. Assemble them too loose and they start to rattle and move on their own. The best solution might be to just fix them in a certain position.
Unless you use magnets to keep the little things fixed in their extremes? And then you can switch between the two with a light touch and a satisfying click? Oh yes.
Use a sprue bit to create a girder down the middle of the exhaust bit and use it as a platform to add two magnets. The magnets should have the same orientation with regards to polarity. I used 3mm magnets.
Now use a sprue to place a magnet inside the wing. I used a 6mm magnet here:
This might take a few tries, but align the magnet so that it hits against the sprue when the exhausts are pointing sideways. If you place it correctly, the big magnet will catch either magnets as you rotate the exhaust:
And here's how it looks like assembled:
It works great. However you have no idea how satisfying it is to switch the exhausts between the two configurations. You just nudge it and the other magnet picks up on it and snaps it in place with an extremely satisfying click. This is worth doing just for the click, trust me!
That's it. Thanks for reading!
Also here's a teaser of what I'm working on:
It's a bit difficult to see, but the two models below show it okay. The first Storm Raven has 4 jet exhausts pointing sideways (towards the camera), and the second's exhausts are pointing down:
Unless you use magnets to keep the little things fixed in their extremes? And then you can switch between the two with a light touch and a satisfying click? Oh yes.
Use a sprue bit to create a girder down the middle of the exhaust bit and use it as a platform to add two magnets. The magnets should have the same orientation with regards to polarity. I used 3mm magnets.
Now use a sprue to place a magnet inside the wing. I used a 6mm magnet here:
This might take a few tries, but align the magnet so that it hits against the sprue when the exhausts are pointing sideways. If you place it correctly, the big magnet will catch either magnets as you rotate the exhaust:
And here's how it looks like assembled:
It works great. However you have no idea how satisfying it is to switch the exhausts between the two configurations. You just nudge it and the other magnet picks up on it and snaps it in place with an extremely satisfying click. This is worth doing just for the click, trust me!
That's it. Thanks for reading!
Also here's a teaser of what I'm working on:
Subscribe to:
Posts (Atom)