Hey,
I've spent the last few months working on Hamilcar, my Golden Demon entry. I didn't place, not close, but I got further than I thought I would, and am really happy with how he turned out.

This was a pretty involved conversion so I thought I'd spend some time going over the conversion.
Step 1: Idea
I read the Hamilcar novels and loved the character. I don't have a Stormcast army, but found him charming enough to consider.
So, I wanted to see if I can create a mini that feels like Hamilcar. If I pulled it off, maybe I could start an army, or not, but it'd be a really fun challenge.
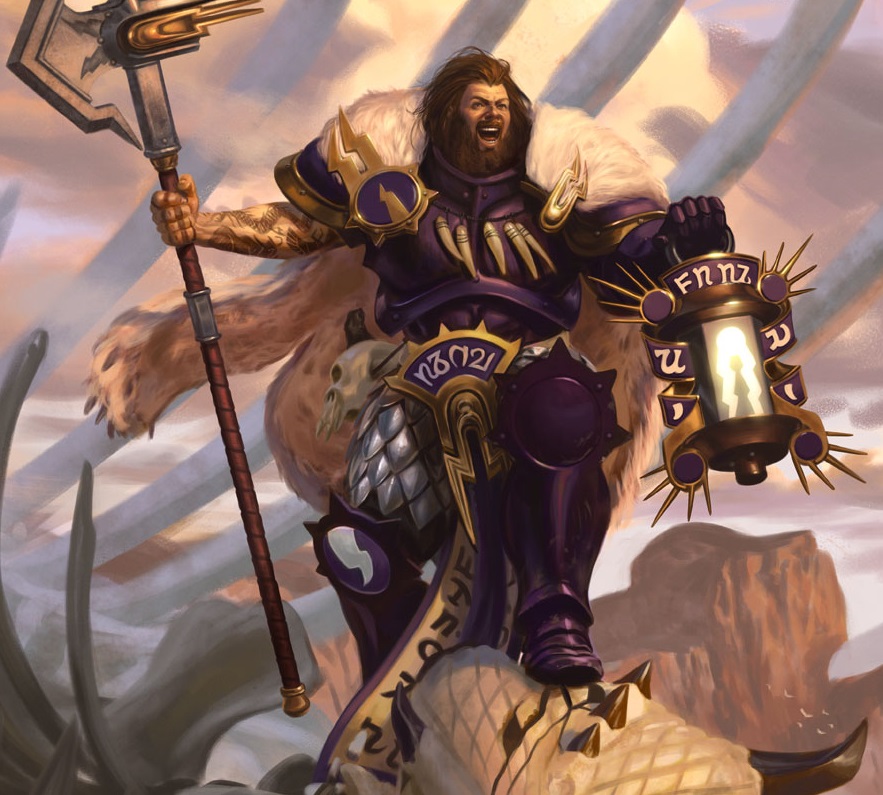
I was mostly inspired by this artwork:
Step 2: That Face
I can convert armor, I've been truescaling Space Marines for years now and I felt I could chop up and fix up a mini fairly comfortably. But, I couldn't find the right head to use. The head doesn't really matter, given all the hair and the beard, but the smile needed to be there.
After a lot of looking online and not finding anything that really works, I decided to try fixing up a Space Marine head I found in my bits box. This space marine was shouting, with a frown, but I thought it's a good enough starting point: if I cut around the upper lip to turn the frown upside down, build up a lip using green stuff, and shave some of the frown away to push his eyebrows up, maybe it'd work?

It kind of works! Not quite. The eyes are still a bit strange but I could continue cutting and smoothing and, the lower lip is too thick, but it's close. A bit later:


And a bit later the same evening, I threw paint on just to see if I could use paint to hide any remaining imperfections. These pics aren't great as I also used them to take note of which paints I used.


Step 3: The Body
Hamilcar, in the story, is a Lord-Castellant that eventually ends up losing that title and picking up a different one, but, he's still a Lord-Castellant in all the artwork. Here's the thing, I really don't like the Lord-Castellant model. It's spiky, chunky, all the detail is rough, the pose is a bit strange, it really suffers from having seams all over. It's an old model, and an easy-to-build one, and the lack of quality shows.
At the same time, I really liked how the new Thunderstrike armor improved on the proportions and general shapes of armor compared to the original models.
So, it made sense to do some sort of mashup - let me create a Thunderstrike Lord-Castellant. This can be made sense of in the story too - Hamilcar lost his title and a lot of his standing in the novels, so maybe he'd be recast into this new thing once he accomplished his quest. Or something.
I decided to base him off an Annihilator, as it's appropriately beefy and large for Hamilcar. But, there were a few challenges:
- Annihilators just stand in a very uninteresting way, which is not suitable for this model. I'd have to cut up and repose an Annihilator. I've done similar things before and could pull that off, although can't say I was eager to try.
- Their armor around the head and shoulders had to go. I wanted a pelt over his shoulders, his head to be visible, and shoulder armor articulate enough that I can lift one of his arms - Annihilator armor doesn't give you much movement in the shoulders, if you notice. So I decided to shave more or less everything above the chest away, and I looked at the bit and found a nice line where I could do that.
- I wanted to use the original Lord-Castellant halberd, lantern, armor around the groin, thighs and accents around the shoulders. To me, they are the most striking parts of the model that say "Lord-Castellant" and so I wanted them to speak through, even though the base model is Thunderstrike.
- I wanted to use shoulderpads with the pelt above, like in the artwork. This didn't end up working out, I couldn't put a shoulderpad on his arm that's holding the halberd without covering up his face or something.
- One arm would not have arm armor, and the other would, as Hamilcar is often portrayed.
So I just started chopping and building. I ended up cutting up some bits from all three Annihilators that come in Dominion - a thigh from this one, the lower leg for that one, etc. I had to do it this way in order to have undamaged parts to position and rebuild around. Had I just cut up one pair of legs, there'd be visible damage where the parts used to meet; by cutting up several models, I could cut e.g below the knee for the thigh, but above the knee for the shin, and then carefully sand and cut the parts until I could join them in a way that worked.
I magnetized the cloak so that it snaps back always in the same place, whenever I removed it to paint something etc. I don't think that was a great idea honestly, as taking it on and off all the time ended up rubbing paint off and requiring fixing up work all the time.
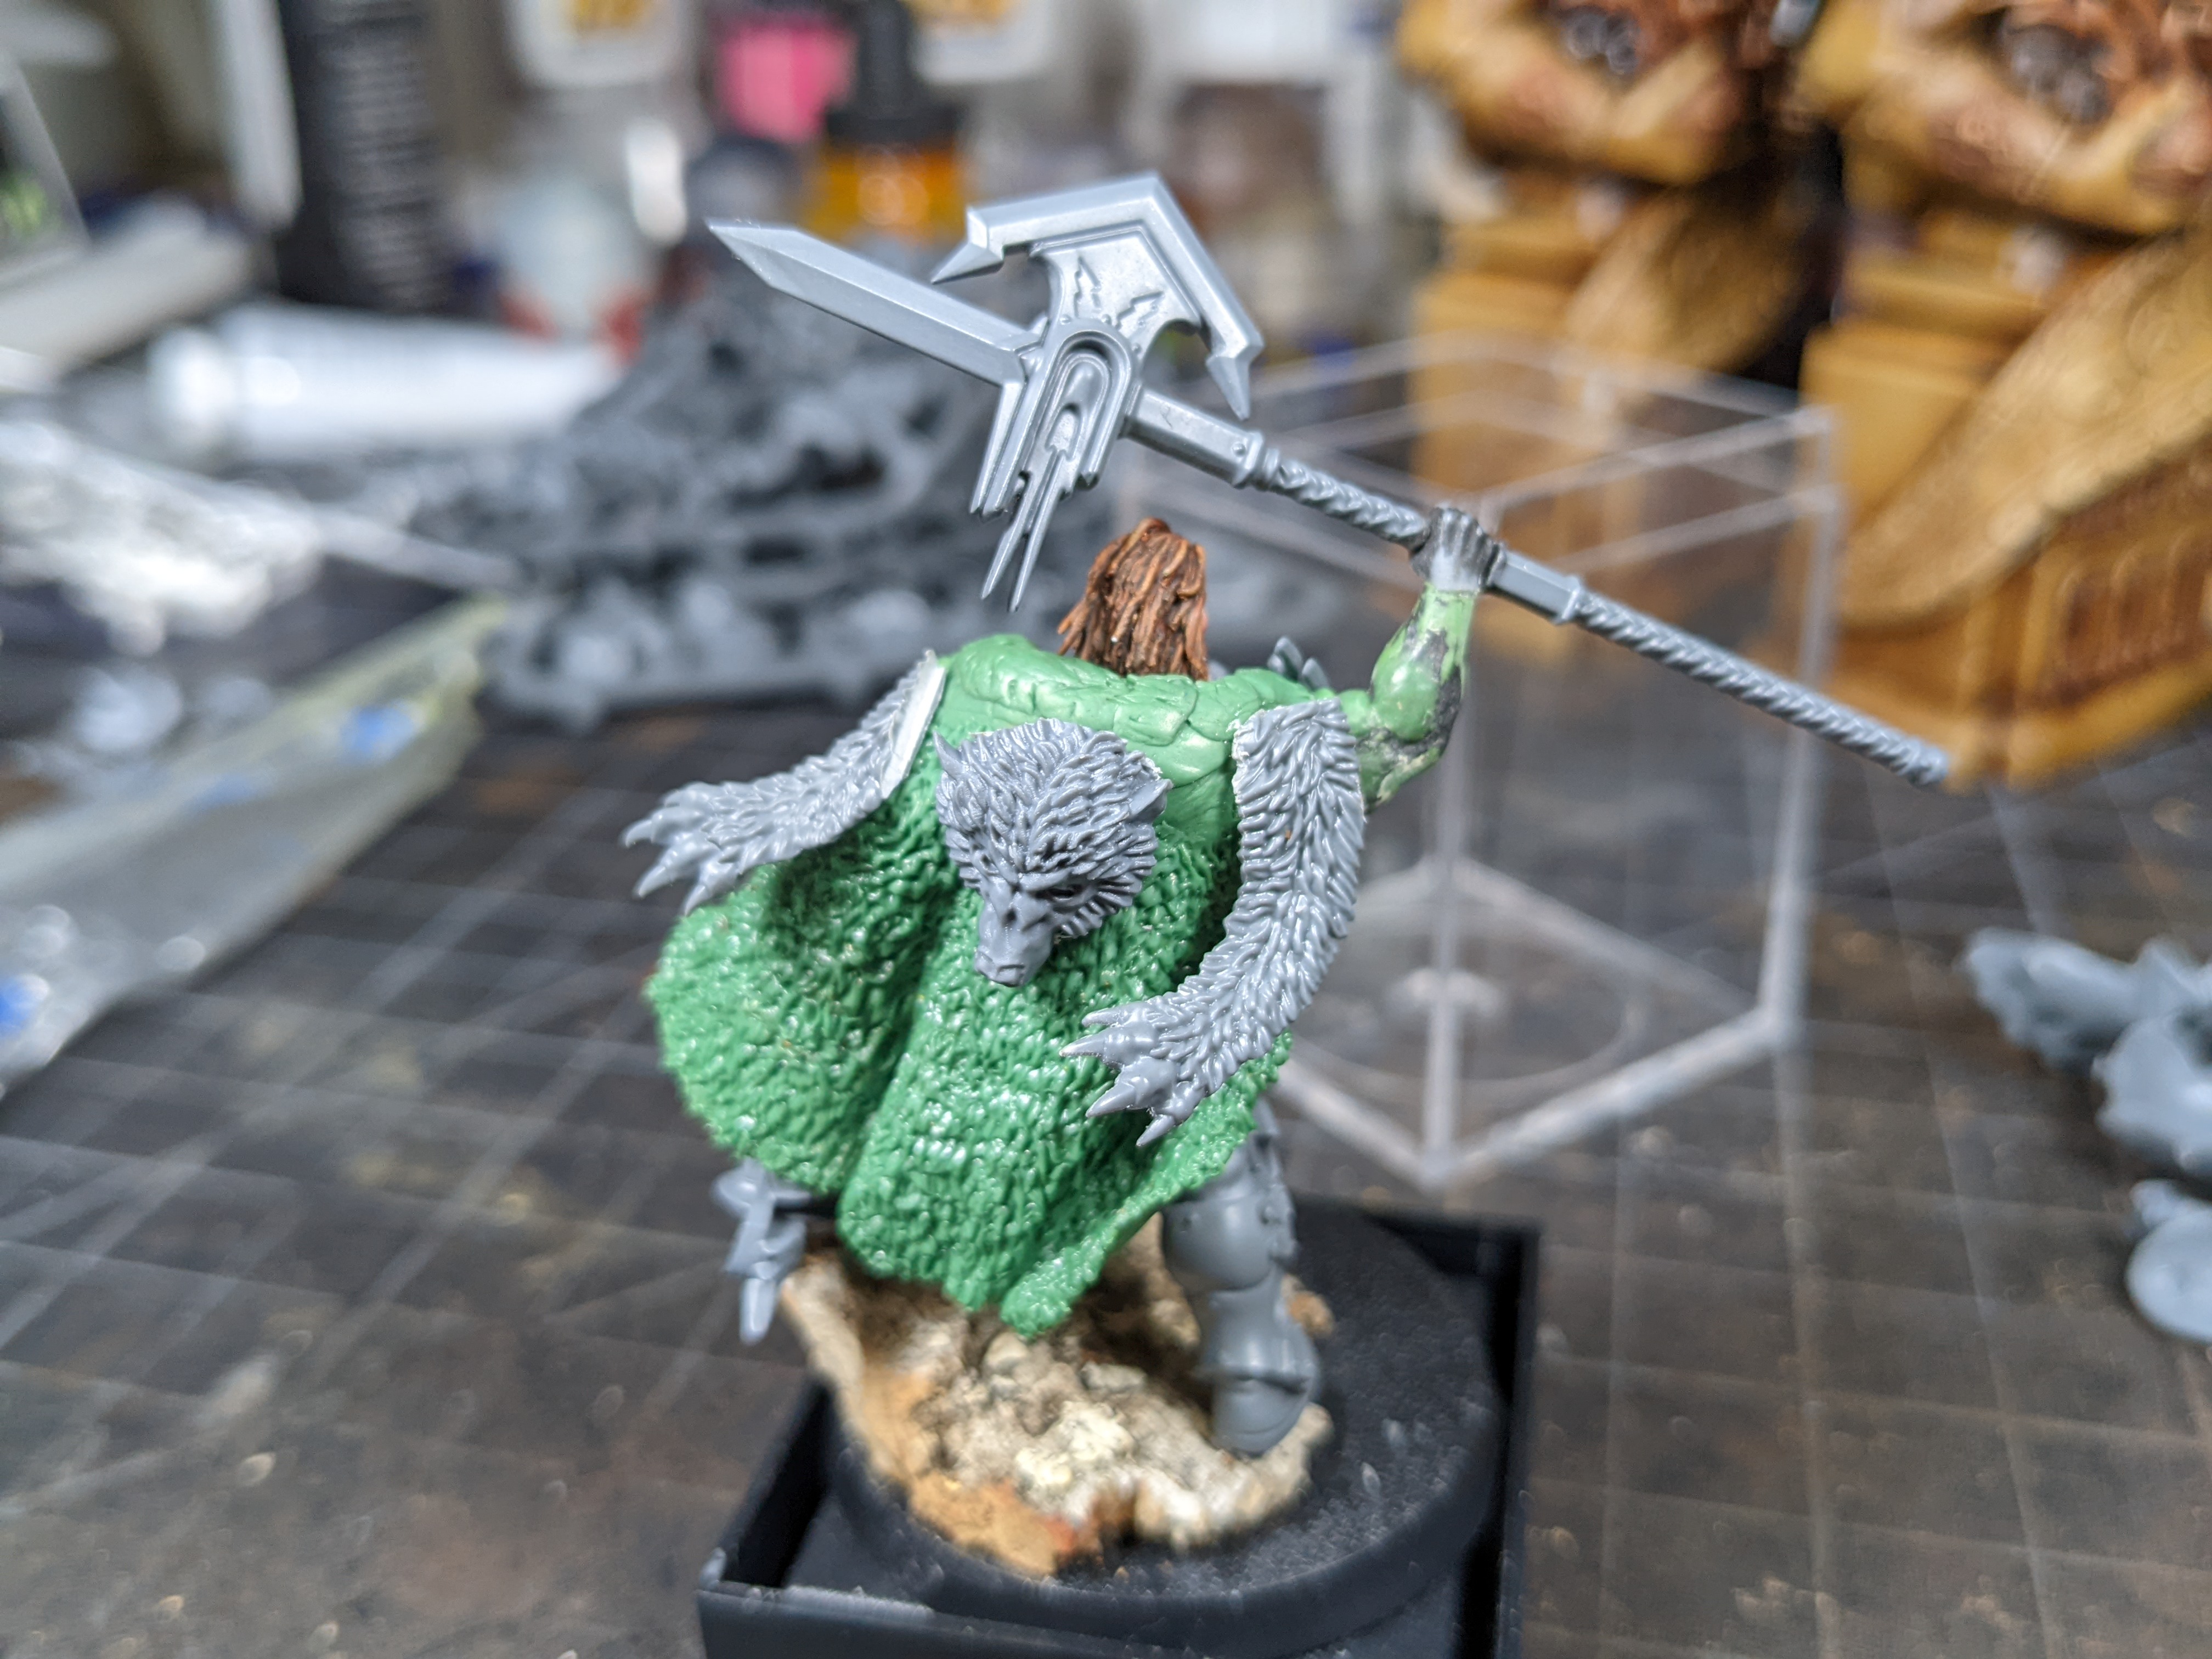
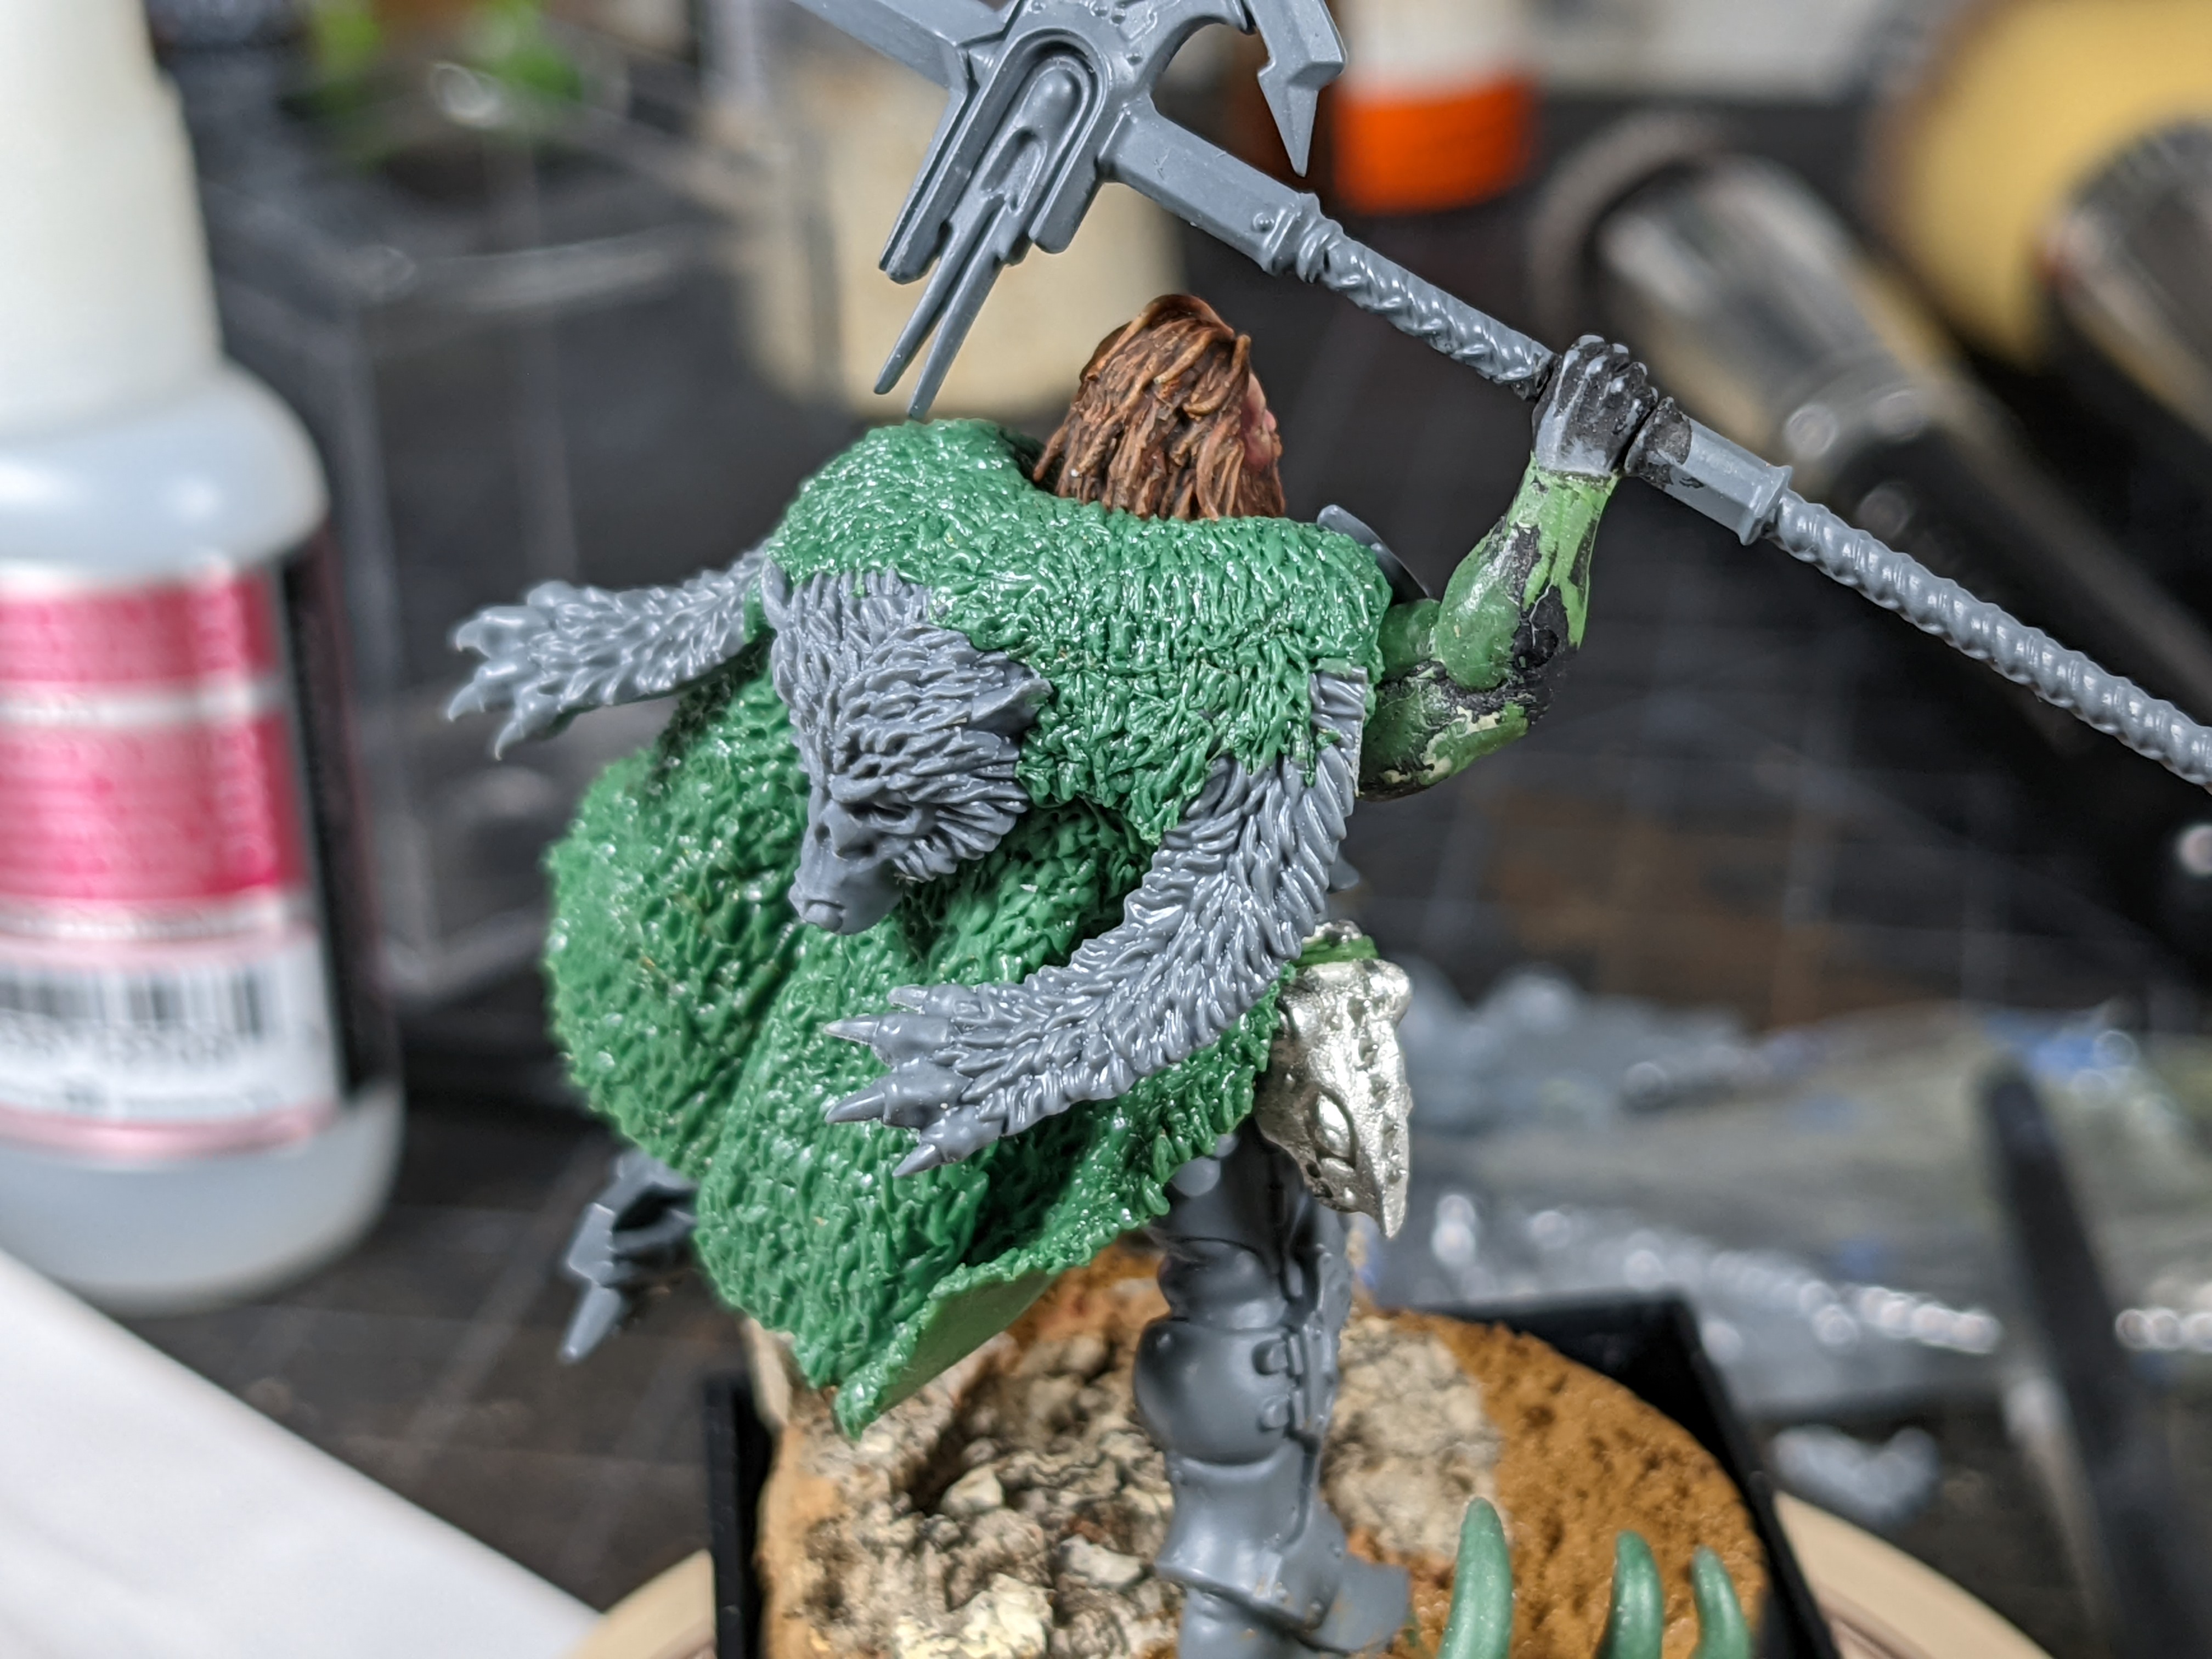
Here are some in-progress pics.


In all the artwork Hamilcar's pelt is a bear pelt, with arm fur flying sideways for some reason. I got Ragnar Blackmane to use his claws as they're the best sculpted I could find online, and I got a head from a Space Wolves Terminator to use as a bear head. This head is not a great Wolf head but it works great as a bear I think.

I built the pelt up in many stages. First I used a flat sheet of green stuff to create the shape I wanted, and then once that's cured, I built hair on top of that sheet. You'll see that there are more layers here that appear as I kept building the pelt up.
In the front, I created a little necklace of teeth. These teeth are from my Ironjawz bits box, but really, they're easy to make out of green stuff should you want to do the same. The rope is green stuff, stretched out into a thin line and cut up once dry.

Since Hamilcar's nemesis is a Skaven Warlock Engineer, and this model tells the story of what Hamilcar would be up to after killing him, I put a Warlock engineer head on the belt. I just took the normal metal model, and then cut and shaved the head bit until only the helmet was there. I didn't want there to be any blood or flesh hanging out, it'd be too gnarly and not the right mood.


And finally, let's talk about the arm.
Part 4: Oh No The Sculpted Arm
Sculpting the arm was the most difficult part of the model. I'm not a sculptor, I'm barely decent with green stuff, and I don't understand anatomy. So I built up some muscles around a bit of wire and a fist from Warcry, waited for it to cure, and stared. If I didn't like it, I'd cut up the part that's too large and build it smaller, or I'd add putty when something looked too small. It was a struggle. I also tried using Milliput for a layer, as I could sand it better than green stuff, but that didn't really work out. After a while, it was no longer possible to read the arm visually, so I had to prime the arm just to be able to see what it'd look like, then cut and sculpt over the primer, prime again...
This took several weeks of daily work. I'd pick the model up, look at it, see something that feels off, look up reference photos, try to understand what I need to do to make it better, and then I'd do it. This took ~30 minutes, and then it'd be time to put the model down, wait for it to cure, and try again the next day.
And yeah, the armstarted off terrible, and it looked better and better each day. It's still not perfect - I know exactly what I'd change it I kept working on it - but it's good enough and I was happy to see it done.
Part 5: Everything Else
I also build up a base, not much to say there. Some cork bark, texture paste, crackle paste, the usual.
I also spent hours posing the model, thinking about what the base would be like etc; I don't have a good way to communicate what that was like, but I was very intentional in where things ended up, how the lantern is parallel to the wrist, how my favorite shot of his head from the side is framed by the halberd, how the rear of the rock and those bones are almost symmetrical and part of a circle that he's the center of, how the cloak follows a very important sideways line. I think a lot about this model ended up working out well.
With that, it was ready to paint! I have a bunch of WIP photos to upload, but let's do that some other day.
Thanks for reading!
No comments:
Post a Comment